
Mad’s room is making some great progress. I try and do a little project or store run or
something every day (or at least every other day).
This room has gone through some major transition since we
moved into this house. It’s probably
been the room that has served the most purposes.
It started as an office, then was Maddie’s room, then Evie’s room, then
a guest room. All that in only 3
years. I was able to dig up some
pictures of what it looked like in the past, so here is a bit of “the room in
review.” :)
Here is what the room used to look like right after we moved
in. At this point there were no plans
for a second child. Well, no definite
plans. Obviously things changed since
then. With the dark furniture and dark
walls the room was pretty dark.

Look at my little baby Madeleine :)
Here is the room as it’s second purpose…the nursery. This is was Evie’s first room. She stayed in our room the first few weeks,
but after that she was in the crib with one of us in the twin bed.


Then the room became Maddie’s room and the nursery moved
into the smaller of the two rooms. Once
we felt comfortable that we didn’t need to sleep in the same room as Evie it
seemed like a waste to cram Maddie into a tiny room and for the baby to have so
much space. We moved Mad and all her
toys into the space. It was super
cue. I wish I had pics of it.
Then we did some major rearranging of the house (shocking, I
know!) and created the play room upstairs.
The plan was that the girls would eventually bunk together in the same,
smaller, room and all their toys would be in the play room. It was a good thought. We tried a couple of nights together and
decided it wasn’t worth it. I talk about
it a little in this post. The room was
very briefly a guest room and then became storage for our extra bed and the
place where Evie slept. This is what it
looked like right before the transformation to the ballerina princess girlie
room.

And here is where the transformation begins.
Painting with the girls in the house is, well,
impossible. Between Steve and I, we have
almost no time together (like, really…zero).
So getting a day where we were not only both home all day, but where
Steve could watch the girls while I painted = absolutely impossible. It was decided they would have to spend a day
at daycare to in order for me to paint.
Good-bye $100.
Now, instead of looking at it like $100 we had to swallow, I
considered it a mental health day. Lucky
for me, I enjoy painting. I like the
instant gratification, the attention to detail, the aloneness. Yes, like all other moms, peace and quiet is
something I am willing to pay for once and awhile.
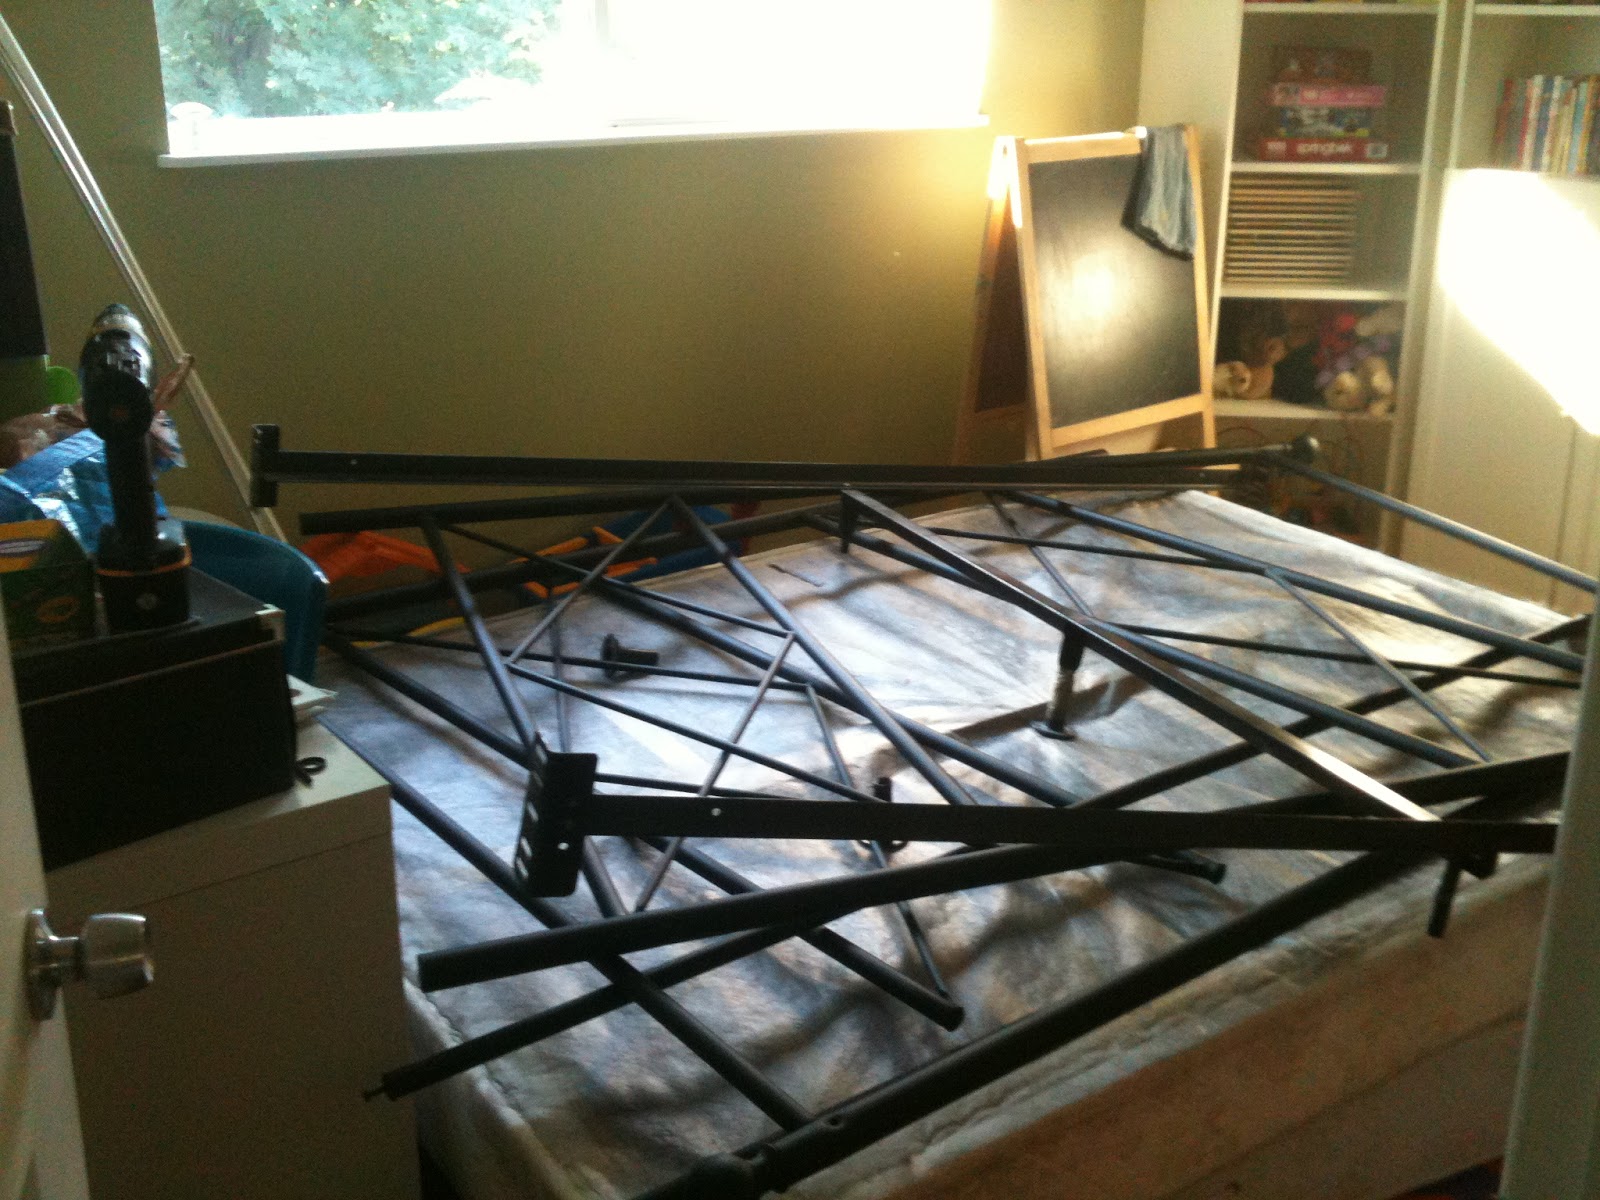
First things first, the bed had to be taken apart. I was hoping to work around the bed, but
after putting it in the middle of the room it was obvious that wasn’t going to
work.

The bed was taken apart and delicately placed in the
playroom - ha! Since I was moving it by myself there was a lot of maneuvering and muttering.
Once the room was empty it was time to patch all the nail
holes – which there were a lot. And
while those were drying I caulked the baseboard all along the room and around
the door. I can’t even tell you how big
a difference this makes. The room looks finished instead of the baseboard just hastily thrown on the wall.

After the putty dried I sanded all the spots and then
texturized the wall. What I didn’t
realize is how much the texturizing spray smelled. Holy huffing!
I had bought no VOC paint thinking it would be good for the girls (and
green of course), but there was really no point. The house smelled like the texturizing spray
for 2 days despite running the fan and having the window open.

The paint I chose for the room was a Valspar premium paint
called Seaside, but I opted to have it mixed in the paint and primer no VOC base. It’s about the lightest blue you can
get. It looked white going on and dried
just slightly darker. I absolutely love
it, especially during the day. It’s such
a soft, sweet, clean pale blue.

Here's a little sneak peek of how the room is progressing
After the walls dried I painted the trim with an ultra white
semi-gloss. I used my favorite cutting
brush (a 2” short angled brush). So
crisp. Mama likey.
Project Cost
1 gallon "Seaside" flat paint - $29
1 gallon ultra white semi-gloss paint - $0 (already owned)
1 tube white painters caulk & caulk gun - $2 (already owned gun)
Texturizing spray - $0 (already owned)
Painting supplies (rollers, brushes, trays, protectors, etc) - $0 (already owned)
2 girls at daycare for 1 day - $100
-------------------------
Total - $131
As you can see the project cost was pretty small (excluding daycare - sheesh!). I love how a can of paint can change the look of a room for only $30. It's a completely different space now. The room was pretty before, but dark. Now it's light and airy and perfect for a little girl's space. Gorgeous. :)
No comments:
Post a Comment