
Hi all!
Long time no blog. We've been busy, busy around here. Time to get you guys all up to date.
For one, we started another blog. Yes. You read that right. Another blog. This blog will be reserved for projects, home improvement, DIY, and tutorials. For our family stuff we have a new blog. You can link to it here. It's called the Keating life.
The key word in that last paragraph was we. Yes, we (well, I hope!). I've asked Steve to help me keep up with the blogging. I want him to start making posts and it can be a fun family project. He'll likely post more on here than on the family blog, but I'll take what I can get. I just want to be able to share all our fun adventures and creations. I'm terrible at keeping track of all the projects we do and this will be the best way to do it. I just can't do it all by myself.
So, you ready for a long one? We've been super busy working on the downstairs family room turned Nana's house turned master bedroom remodel. Lets take another look at the empty before right after Nana Tyler moved out the first week of January.


It was such a great little family room. We had the 2 tone green and blue when it was a play room and it was great (not so great for a romantic master bedroom, though). Do you see those beautiful built-ins? Yes, we loved them. We built in the IKEA Billy bookcases into an entertainment center. We never did finish it off, though. The floor of the garage-turned-room is far from even which made leveling the built-ins very difficult. It needed molding, but it was hard with it not level. Here is a fantastic tutorial on Billy built-ins from Centsational Girl.

Apparently we weren't the only ones who thought they would make great built-ins. And here is a link from Belva June with her own Billy built-in based off Centsational Girl's. Fantastic right?

Well, after seeing those beautiful bookcases, here is the process of us tearing them down. Bye-bye Billy built-ins. Let's take one more look pre-teardown.

Bye-bye Billy. Here is partway through our teardown with all the bookcases gone.

Notice all the 2x4s? We had to build out the bookcases due to the wall on the bottom. A bit of a pain, but we worked with it. Here's a close up.


And look what we found under the bookcases?! The letter B from Maddie's alphabet puzzle that she lost the first day we got it (nearly 2 years ago!). :)

Here is the room sans-Billy. We left part of the 2x4s for a future headboard project (see below).

Okay, so that's about it for the tear-down. On to the next project. We got this beautiful armoire off craigslist for $50. It was supposed to be for our TV, but it ended up being too small. Now it will be perfect in our new master bedroom. Of course, I'm not sure for what. Here is what it started out like (after a little sanding - we forgot the real before picture)

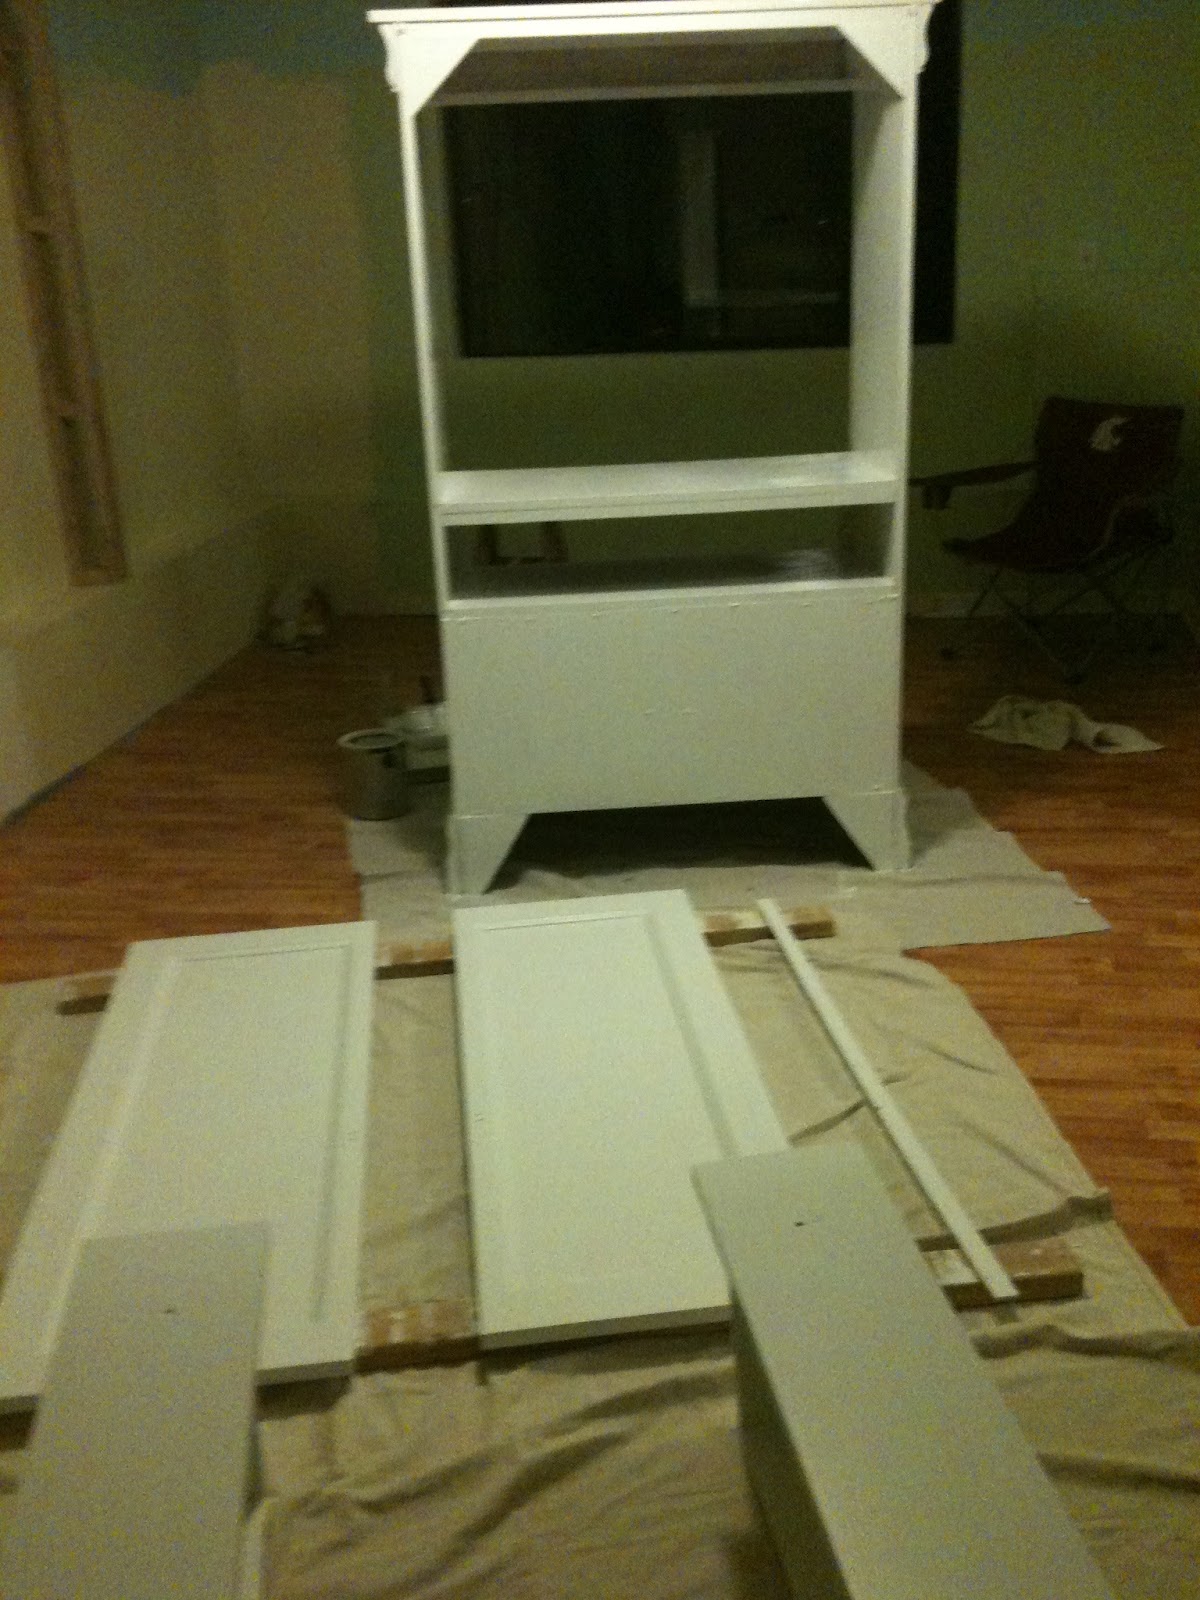
And here it is set up for it's new treatment

I know that in this picture the doors look gorgeous and you're probably thinking "why in the world would you paint that???" Well, the doors were gorgeous, it was just the rest of the armoire that wasn't. It was partially painted brown instead of natural wood. It needed a new coat of paint. After a light sanding to smooth out the finish we treated it with some deglosser purchased from the Home Depot to prep it for paint.

And here it is post primer
And here is the finished product. Well, almost finished. After living with it for a bit I think it needs some new hardware and a little distressing. But we'll wait until we have some other project finished.

Next project. You know when you have things that completely bug you but likely no one else would notice. This is one of those projects. When we moved into our house none of the doors were painted. They were all a yellowish off-white color and somewhat dirty. And the trim downstairs was never caulked so it looked very unfinished. So far we've painted 3 of the doors and partially caulked some of the trim. Here are some pictures. Before (blah).

During (hi husband)

And you'll have to wait for the after until I show you this next project. While the handles on the doors were a nice nickel, the hinges were bronze. While I don't love matchy matchy decor, these non-matching metals were driving me BANANAS! Let me show you the before.


Yikes! Thanks to a wonderful tutorial on Young House Love (you can find it here) they weren't mismatched for much longer. Take a look at these beautiful afters. I'm so in love with them!


Ahh. That's better. Now we just have to finish the rest of the doors in the house. :)
We also painted the entire room blue. I don't have a picture of that yet, but it should be coming soon. We also have been working on a headboard project from reclaimed fence boards - but we'll save that for the next post.
I think I've probably made this post long enough. We'll save some of the other projects for another day. Hope this has been encouraging for all of you.
The Keatings
I would add that we had to replace Julie's favorite cabinet/trim paint brush, because I forgot I left it downstairs after working one day, and it was still full of paint. My bad. However, there's no such thing as a "wasted" trip to Home Depot. :)
ReplyDelete