
Are you ready for some super cute, super easy, super girlie artwork??? Ok then.
When I was looking all over pinterest for inspiration for Maddie's room I came across this adorable wall art from notonthehighstreet.com

I loved everything about it - the swirly letters, the patterned butterflies, the shadow box. But the price tag was $82.65. No thank you. Not that it's not worth it, it's just not in our budget. But not to worry. I figured the idea was simple enough, so I decided to make it on my own.
Here is the supplies list
1. Picture frame
2. Computer/Printer/Paper
3. Scrapbook paper in 1 or more patterns
4. Small butterfly punch
5. Craft glue
6. New pencil (or something to press the butterflies into the glue)
I gathered and purchased the supplies I needed. First was a Ribba frame from IKEA. Since the IKEA white was not what I wanted I ended up spray painting it pink.

I also bought a small butterfly punch and 2 pieces of scrapbook paper from Joann Fabrics.

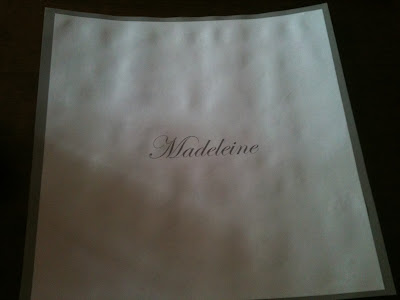
Once I had everything I had to print out the name "Madeleine". I simply went into Microsoft Word, chose a font I liked, made it the size I thought would work best in the frame, picked a color (I just used gray) and printed. Then I used the insert from the Ribba frame and cut the paper to the appropriate size.

Since the frame was slightly larger than paper width, I trimmed down the paper on all sides and glued it onto the gray insert so it would have a gray outline. I just used regular white computer paper, but you could use card stock or any color you want.

Then I started punching away. I used 2 different scrapbook paper patterns and cut out 12 butterflies of each - a total of 24.

I noticed when proofing that you can see our new dog Sunshine under the table. You can't tell from the picture, but she is really cute! :)
Then I took each butterfly and gently folded it in half to give it a little lift from the page.

I squirted a little craft glue onto a cute pink baby plate and lightly dipped the folded edge of the butterfly into the glue.

With the glue on the bottom of the butterflies I placed them in a random pattern around the name. With each butterfly I used a clean pencil eraser to push them onto the paper.

Here is the paper with all the butterflies glued on.

When the glue was dry I placed it into the frame and - wah-lah - beautiful butterfly name art.


Project Cost
Frame - $10
Spray paint - $0 (already owned)
Butterfly punch - $14
2 pages scrapbook paper - $1
Glue - $0 (already owned)
---------------------
Total - $25
Once more for the inspiration
And the final product

No comments:
Post a Comment